Follow Me on Pinterest

Sunday, November 11, 2012

Black and White

LOVE these cards. Black and white always looks so clean and sophisticated.
Stamp by www.stephaniebarnardstamps.com. Butterfly punch by Marthastewart.com. Scrollwork embossing folder from Provocraft.com
Flowers stamp by Autumn Leaves. Swiss Dots and Animal Prints Alligator embossing folders from Provocraft.com
Stamps by www.stephaniebarnardstamps.com
Not Black and White, but could easily be. Stamp by www.stephaniebarnardstamps.com. Divine Swirls and Measure By Measure Scrolls Embossing folders by Provocraft.com. Pearls from The Dollar Store

Saturday, November 03, 2012

Experimenting with Flip It cards


While I was in Lockport NY staying with my friend Maria I went with her to a rubber stamp show and bought a ton of stamps and other related things. One of these things was a flip flop die. 

In the past when I have made flip it cards, I have used my scorer, big shot and a circular die. There is a little measuring involved, not too difficult, but I did want to see how the actual flip flop die worked.
Here is one that I tried without the flip flop die.
I used a circle die. Click on the link above to see the tutorial
And here is one with the flip flop die from www.stampdoctor.com
I decided that the way it folded didn’t suit me, so I was able to figure out how to center the flipped part of the cars, and I like it so much better.
Then a few days later I saw a Darlene DeVries youtube video on Pinterest that intrigued me. I watched and knew I needed to try it out immediately.
Mine didn’t turn out as well and I decided that I didn’t like all the score lines on it, so I made a slightly different version. This one the centre doesn’t flip all the way, but I prefer it.
With the ones I have tried so far, the last one is the one I like the most. The one with the actual flip flop die is a little faster, but I am limited to just a rectangular flip.

Thursday, October 18, 2012

New cards with Stephanie Barnard's Trees4Christmas stamps

I love this set, I think it is quite versatile.
I still have at least 40 more cards to make. I may have already missed the mailing deadline.

Saturday, October 13, 2012

Hallowe'en Cards

I am a little sad to say that the last card I posted, the one for my friend with the raccoon problem, got lost in the mail. However, I was able to send her the link to my blog where she could see what I had made for her.

And now on to my latest card.
This is a simple white card with the word stamp BOO in orange ink and the little spider stamped in black. I then took a thin black sharpie and used a ruler to draw some lines. Easy, simple, and wonderful!
The kids at school will be receiving these cards along with something I saw today on Dawn's blog.

Happy Hallowe'en!


Saturday, September 01, 2012

Raccoon attack

One day a couple of months ago my friend Vanessa was awoken by some strange noises in her kitchen downstairs. She got up and went to check it out. To her dismay she saw a raccoon eating her cat's food. She wasn't sure what she should do, so she went back upstairs and Googled, "what to do if raccoons come into your house!"  She went back down stairs , turned on her ceiling fan, turned on the radio and all the lights and yelled at the creature to get out after arming herself with a broom. It slowly sauntered out the kitchen door to the deck.

Now my friend lives on the 2nd and 3rd floor of a house. That big old raccoon had some how climbed up onto her deck, and onto the bathroom window sill, and scratched away at the screen until it ripped it to shreds. It then went in through the open bathroom window.

The following night a similar scene took place. However this time the big old raccoon was accompanied by 4 little babies. They were eating that cat food again. She repeated her antics of the previous night, and eventually got the whole family out.

Of course she had to keep her bathroom window closed, and in the very hot month of July, she had to suffer the heat every night. After talking with some people, she discovered that sprinkling cayenne pepper on the deck would deter the critters from returning.

Now she has just moved into a new home, and I thought I would give her this little card to remind her of the incident, and make sure she is aware that the critters can follow her to her new abode!


Tiered cards

I was shown how to make these cards by Darlene while I was in Lockport last week. Just take all the yellow pieces and tier them by sticking them on top of each other in concentric rectangles.  Then stamp away. When you are done take them apart and put the mats behind them.


Tuesday, August 14, 2012

Baby Cards

I found this lovely sheet of 12 x 12 paper and I knew I wanted to make cards with it.
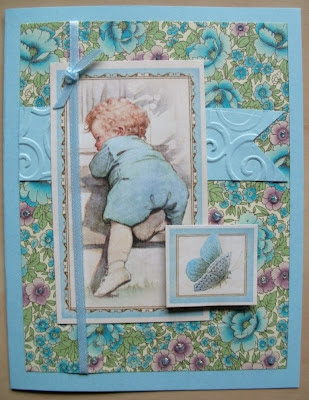
So here are 3 cards that I put together using sketches from Mojo Monday. I love their sketches, and always think that I will use them, but never have. Yesterday's sketch was just perfect for this card, that I was inspired to get to it right away this morning.
I'll be sending this card to my great nephew in England for his 1st birthday.
I used some embossing folders for this one and 3 drops of stickles at the bottom right
Such an adorable picture. The liquid pearls I used on this one are a little crooked!

Thursday, August 09, 2012

Cricut cards

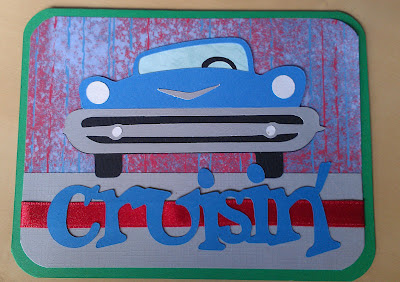
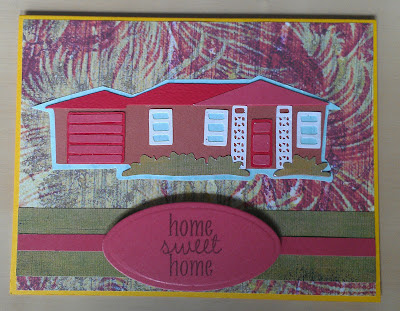
I put together 2 cards with my cricut, one for my BIL whose birthday it is this month, the other for his daughter, my niece who just moved into a new home. Loved the way they turned out.
For Kev's birthday


For my niece Sophie and her daughter Talia
Both these cuts are from the Nifty Fifties cartridge.

Wednesday, August 08, 2012

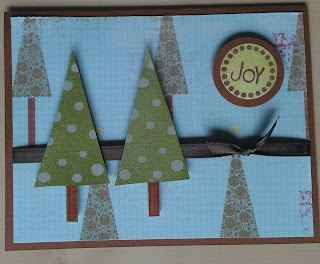
Christmas card tutorial

I am trying to come up with a few ideas for Christmas cards for later this year. I posted these 2 on Paper Craft Planet and some of the readers were asking how I did the cut for them. So I thought I'd write up a little tutorial with a few pictures.

Using a two sided card stock, cut at 7 1/4" x 4 1/4"
 Then score at 2 3/4" and 3 3/4"

Take a die shape that is symmetric like a circle for example. (I mark the centre line on mine.)
Using a die cut machine, (I use my Big Shot) stack the white platform, first acrylic plate, paper, die. Place the centre of the die on the 2 3/4" score line. Then line the 2nd acrylic plate edge on the centre mark and send it through.
Do not remove the die or paper from the platform. Turn the whole platform around, line the top acrylic plate on the other score line and run it through the machine.
Remove the card. Fold the 2 3/4" forward and the 3 3/4" backward.
There will be score marks on the flip part, but you can cover them with another card shape.
I used a corner rounder and some stamps to complete this card.

Sunday, June 24, 2012

Butterflies are Free

Didn't have time to make the second post, but will later when I've got time. Here is a quick one showing the 2 cards I made for a set to give to the principal of the school I work at. She is going to another school in September so I wanted to give her something. When people leave a school they always get gifts or cards, so I made these thank you cards. She loves butterflies, which gave me the opportunity to use Butterfly2build from Stephanie Barnard.
 And this is the folder I made to put them all in.
Thanks for looking.

Saturday, June 16, 2012

Retirement Book

Wow, just realised there are no posts for May. So I will post 2 today!

I have had this lovely black and white paper pack for some time now and had been waiting for the right project to use it for. I had also found a mini stack that was also black and white and had a letter of the alphabet for each page.
So I got to work on this retirement book for someone I have only known for the past 9 months. She is the resource teacher for the primaries in my school. It was because I don't know her well that this book was so easy and pleasurable to make. I didn't know the colours she liked or her 'style', so that make it really easy to get to work on.


That is it. I just added a little bit of red to each page, to give it a little colour, and I LOVE it.

I gave Paula the book last week and she told me she was going to keep it beside her bed and will add things as she does them.